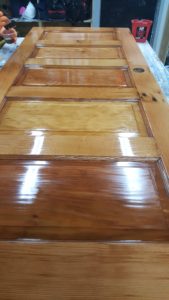
Painting
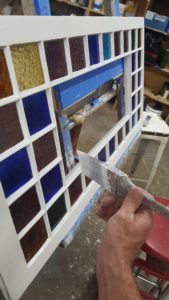
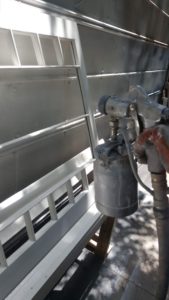
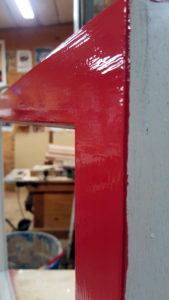
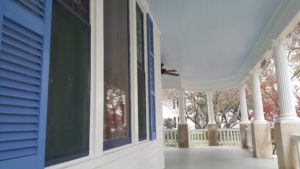
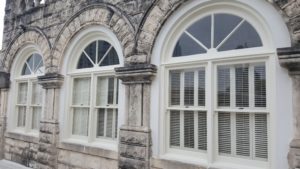
Let an professional tackle your painting projects! My experience and skills with painting are evident in the many projects I have worked on. From the finest of line painting details, to crisp trim edges, big walls, and patching holes, I have done it all. Historic buildings, residential, and businesses. Visit my about page for more info.
<SCROLL DOWN FOR GUIDE TO PREVENTING ROT>
Signs your house needs to be painted to prevent costly repairs
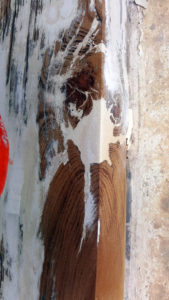
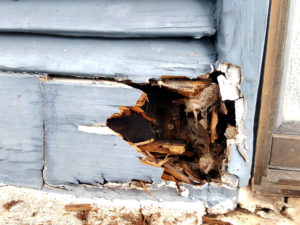
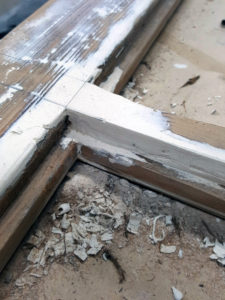
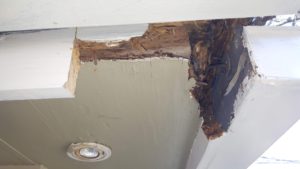
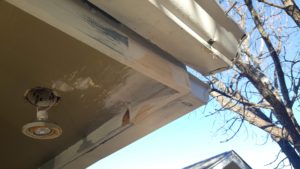
The longer between the painting of your wooden house surfaces, the more chance that the wood underneath will have water damage. If left for too long, your walls will start to crumble! Examine the surface of your house. Any change in texture should be checked by applying pressure with a tool such as a screwdriver. If your tool sinks into the surface, that wood needs to be replaced to prevent further damage from spreading rot. Wood can begin to crack or warp over time, look places around the ends and edges of boards. Penetrating moisture can cause the paint to bubble as well, often occurring near natural knots. Another common damage occurs near nails, look for rows of slightly raised areas.
If you see some of these signs, the longer you wait to repaint, the worse your damage could become, even causing the need for the framing of your house to be repaired. I specialize in localized wood repair, often saving money. Contact me for a free estimate! See the guide below to preventing rot!
Fill out the form below for a free estimate on your house painting needs!
GUIDE TO PREVENTING ROT
- Caulk/paint cracks. Often the spaces around the joints of wood on your house become opened up and exposed to water. This is because wood expands over time, and often moves slightly. These areas such as between siding boards, around trim, and at joints require special maintenance.
- Set nails. If a nail head, such as on your siding, is above the surface of the wood, there is a good chance water will penetrate that spot eventually. The hole a nail or screw leaves is not primed or protected, so over time water can get inside. Set all nails and screws and seal with putty or caulk.
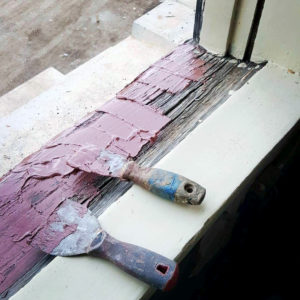
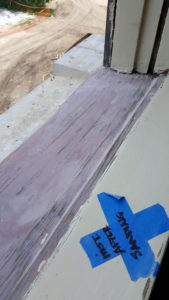
- Remove failing paint. Once water has gotten below the surface of the paint, ever larger areas will be compromised. There are tiny holes in a painted surface that water can still penetrate through. This is why 2 coats of paint are required to achieve the best results. Water flows like a sponge through wood, and causes it to expand. Once it does, you see things such as bubbles, chipping paint, and a rough texture. Use a carbide paint scraper, or a grinder with a sanding disk to remove damaged areas. Then lightly sand, prime, and paint.
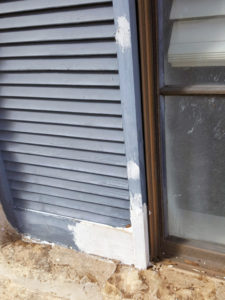
- Replace damaged wood. Rotten wooden areas eventually crumble underneath the painted shell remaining. If a metal tool pressed against wood sinks below the surface, you know there is rot. Continue applying pressure with a tool such as a chisel to remove rotten wood. Fill with putty. If the area is large, use a carpenter’s square to draw straight lines around the perimeter, and cut away the damaged area. A sawzall or plunge cut saw to reach areas a circular saw can’t. Replace with new wood, nail in place. Use wood glue to make it even stronger.
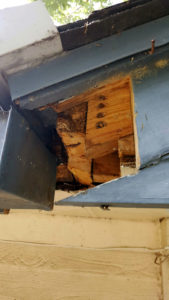
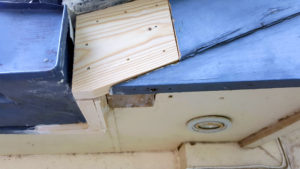
- Look for places water can penetrate. There are many problem areas in a house that do not appear to allow water inside at first glance. Hidden areas such as the top and sides of high windows, behind gutters and down spouts, and along the edge of the roof along the fascia. Make sure these areas are securely caulked and filled, or have metal flashing attached to prevent water penetration. Often roof edges and window tops have this metal seal.
- Use rot resistant wood or cement board for trim. Most houses are built using pine wood. This wood rots easily. For trim and other high weather spots, use treated lumber or wood such as cedar that does not rot as easily. Often houses use cement board instead of wood or trim/siding. This is a mixture of cement and fiber shaped into boards, and is long lasting and paintable.
- Seal decks/fences with waterproof stain. These areas often left without painting to provide a natural look. Use a semi-transparent stain to seal the ends, tops, and sides of all boards.
- Prime or seal the ends, sides, and back of trim. Or use pre-primed trim that is primed on every side. Most builders do not prime the cut ends or backs of wooden trim and joined areas. Taking this extra step makes sure that ends and joints don’t weather over time.
- Use 2 coats of primer/2 coats of paint. While priming wood often is done in one coat, adding a second coat prevents wood grain from showing through, and provides a strong seal while filling cracks. Applied paint has a thicker coat, as less is absorbed into the wood.
- Use oil based primer. Oil repels water, and the same applies in oil based primer. A strong bond is created between the wood and primer, sealing out water and making it very difficult to remove from the surface.
- Make sure wood trim on post bases does not touch the ground. This applies to wood touching the surface of the roof as well. Water not only penetrates the wood more easily here, the adjoining surface prevents the wood from drying after rain, sealing in the moisture and compounding the problem.
- Clean leaf and other dust/debris from gutters and around trim/base of walls. Leaves and other debris such as seed tendrils can collect in corners with other dirt and debris. When this gets wet, it stays wet for much longer, preventing drying.
- Repair damaged shingles or roofing. Edges of roofing, and high traffic areas on roofs where repairs have been made, often sustain damage. A small repair can easily be made without replacing the entire roof.
- Use epoxy for a rock hard repair. When replacing rotten wood, using a 2 part epoxy mixture designed for wood such as Abatron or West System provides a rock hard repair that is structurally sound, even allowing it to be machined and fastened to with nails or screws. Durham’s water putty or dap provides similar results, but not as long lasting and less effective on very large repairs. Also corners or edges are difficult to repair with these softer putties.
- Use galvanized/exterior nails or screws. Often builders use interior nail gun nails and regular construction screws when building. These are not water resistant and begin to rust over time, crumbling and exposing the joint it once held. Untreated thin gauge nail gun nails rust easily.
- Trim
- Drywall/Texture
- Interior/Exterior
- Staining
- Decks
- Screen replacement
- Wood Repair
- Window Maintenance
- Murals
- Fences
